
Learning how to paint wooden items in six simple steps
Today, there are many workshops for repairing and painting wooden items and furniture, which do this with different methods. In this article, we tried to teach beginners how to paint wooden surfaces with a few simple steps. Note that according to this tutorial the natural waves of the wood are covered.

step one : Preparation
First, prepare the wooden device. Remove accessories such as drawers, handles, etc. If the wooden tool is stored in the warehouse or in the open environment and dust sits on it, be sure to clean it well. Otherwise, the finished paint on the wooden item will not look good and may peel off.


Second step: sanding
After preparing, sand the wooden tool so that the shiny layer on the work is completely removed and a suitable substrate is created for the paint to be placed on the work surface.
If you want the surface of the wood to be patterned at the end, you don’t need to continue sanding too much.

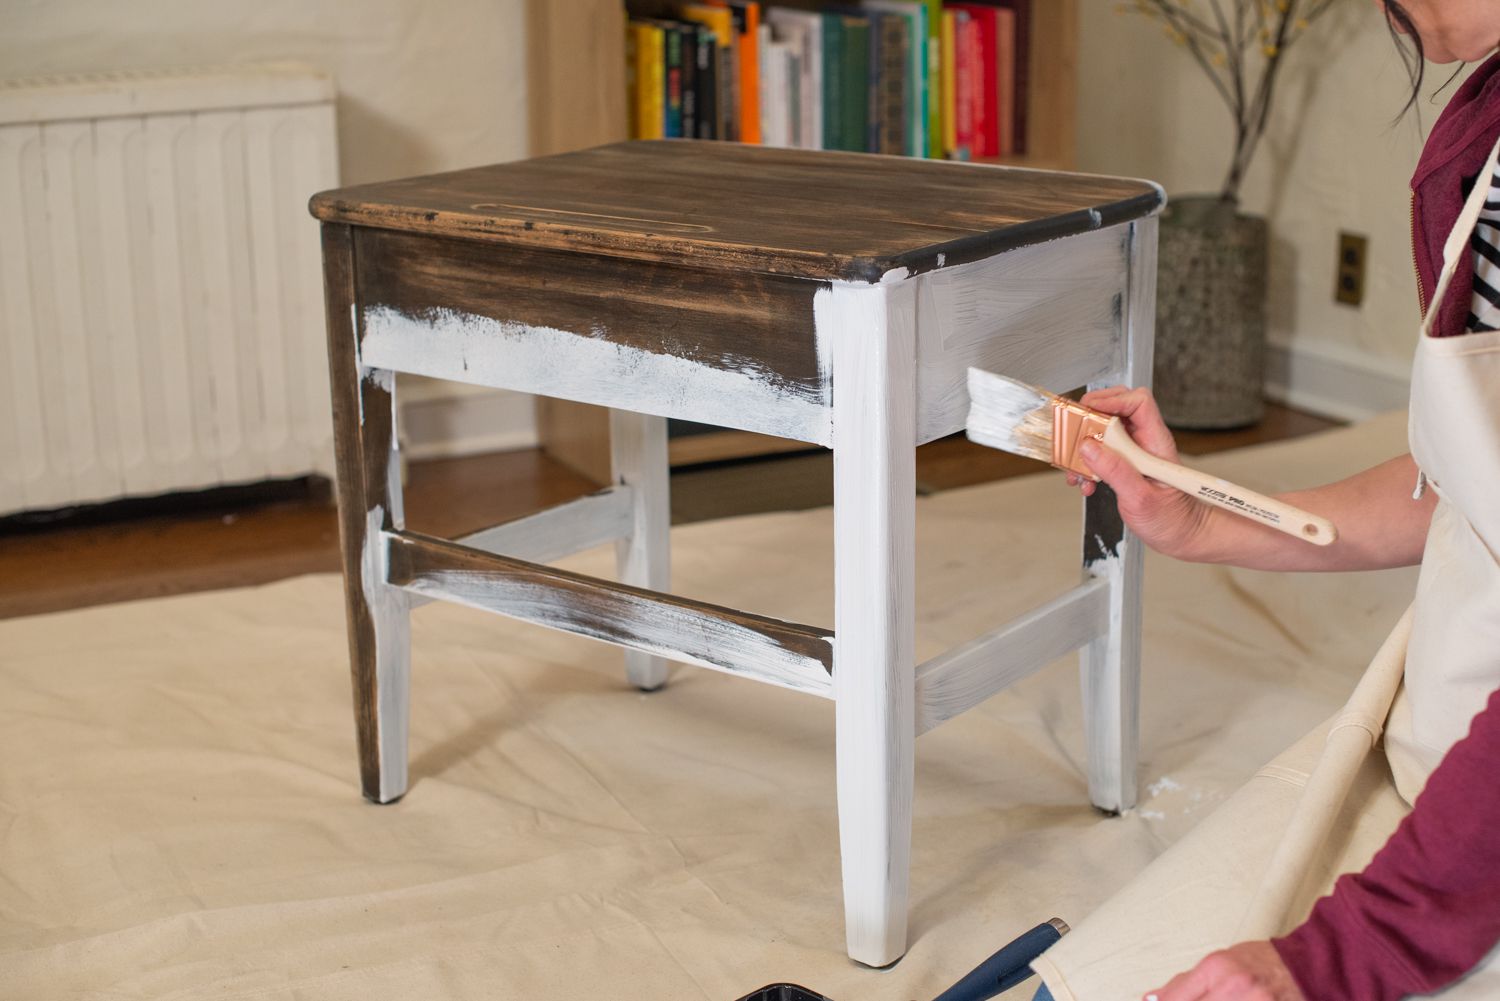
The third step: Acrylic primer (under paint)
After cleaning wooden furniture, apply acrylic primer to it. This primer layer helps to make the original color of one hand and one fabric and better on the wood, and also covers the stains and cracks on the wood.

Fourth step: Sand again
Using very soft sandpaper, sand the surface of the wood between the layers of primer and paint. This will help you to have a better and more professional color as a result.
Make sure to completely clean the particles caused by sanding from the surface of the wood every time.
Fifth step: painting
Now that the wood surface is prepared and primed, it is the turn of the main color. For wooden surfaces, acrylic paint is more suitable, usually the semi-gloss type. We suggest not to use matte colors for wooden surfaces because it leaves fingerprints on it, shows the defects of the wood more and is difficult to clean. While the glossy surface is easy to clean.
Apply a thin layer of paint and repeat: Sanding between each layer of painting and repainting. This is very important if you want to end up with a glossy surface.
Apply two or three layers of paint in total.
There are different ways to paint. You can use spray paints, rollers or brushes.
Usually, a brush is used for corners, crevices and hard-to-reach areas, and a roller is used for the work surface. Start with the cracks and corners first.

The sixth step: Bodyguard
After the last layer of paint is completely dry (about 24 hours) a layer of water based killer This will protect the paint and wood and also make the surface easier to clean. If you have painted the surface of the wood white or light colors, we recommend that you never use oil polish varnish because it will turn yellow after a while. But it is not a problem to use it for other colors.
After using the water-based killer, allow it to set and dry completely for one to two days.
Now put the drawers and other items in their place and that’s it.
Color gives you the power to change anything.

